
Leaking water lines and lime buildup slow down your line every single day. Daily plumbing maintenance drains your kitchen budget fast. You need a clean, dry hot well that keeps serving lines hot.
To choose the right dry-well steam table, evaluate heating type, pan configuration, and temperature controls against your menu. Radiant wells fit standard pans on tight budgets, while induction systems maximize energy savings, provided your electrical panel and counter cutouts match.
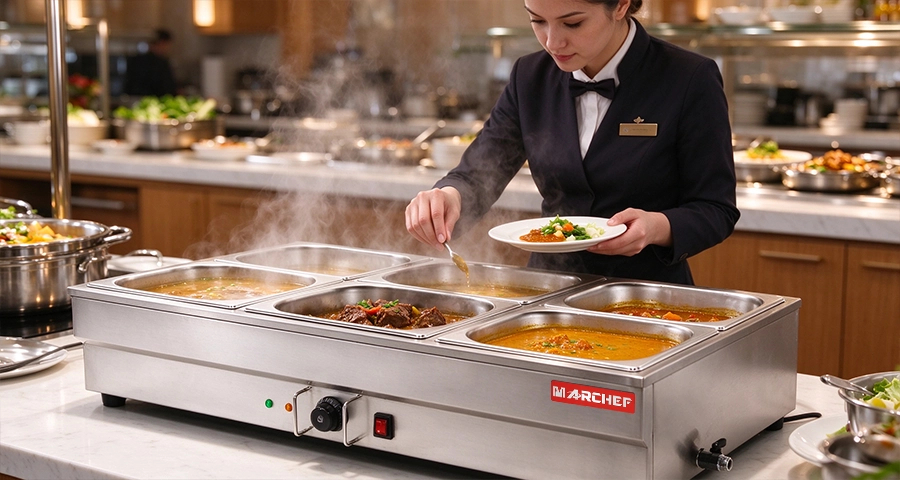
I spent years inspecting commercial kitchen counters during line retrofits. Operators always regret buying units without checking heating styles, pan layouts, digital readouts, and cutout dimensions first.
How Do Radiant Heat and Induction Drop-Ins Compare?
High energy bills bleed your kitchen dry every month. Slow heating elements make your morning food prep stall. Inconsistent holding heat ruins food textures and wastes expensive ingredients.
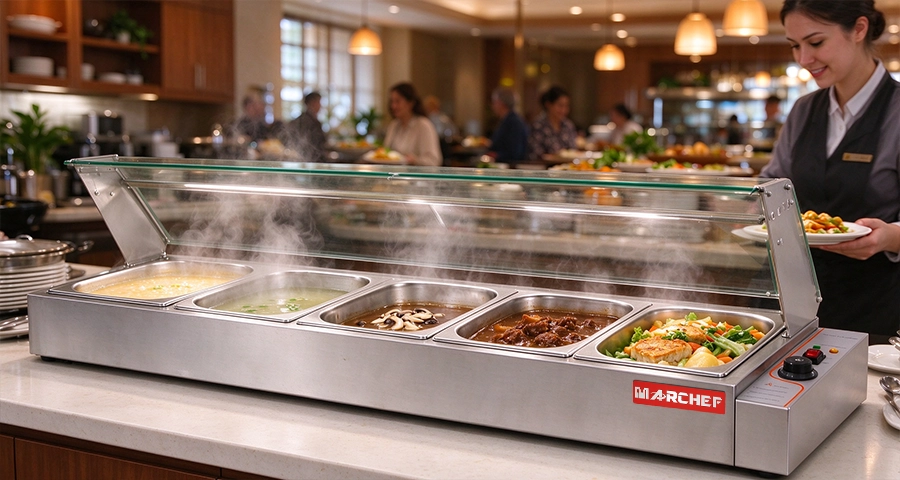
Induction drop-ins heat magnetic pans directly with electromagnetic energy for fast response and low power use. Radiant dry wells use tubular electric elements under well liners to warm any standard metal pan with lower initial purchase costs.
Technical Breakdown of Heat Systems
I tested both systems extensively on busy serving lines. Radiant dry wells rely on calrod or tubular heating elements beneath or around the well liner. These elements emit infrared heat into the well walls and bottom. This radiant heat then slowly warms the insert pan. Induction drop-ins operate on a different principle. They generate heat directly inside ferrous cookware using electromagnetic fields. This eliminates the need to heat an open air pocket first. Induction dry wells deliver significantly higher energy efficiency and instant thermal response compared to radiant systems. However, induction units carry higher initial equipment costs. They also require induction-compatible magnetic stainless steel pans. Radiant wells accept any standard stainless steel hotel pan that you already own. Furthermore, switching a serving line to induction drop-ins reduces your building’s ambient air conditioning load compared to open wet wells or uninsulated radiant units. Induction units do need proper under-counter airflow. You must maintain clear cut-out clearances so internal cooling fans can breathe properly.
| Feature | Radiant Dry Wells | Induction Drop-Ins |
|---|---|---|
| Heating Method | Calrod or tubular elements | Electromagnetic field |
| Energy Efficiency | Moderate | Very high |
| Initial Cost | Low to moderate | High |
| Pan Requirement | Standard stainless steel pans | Magnetic ferrous pans only |
| HVAC Heat Load | Moderate ambient heat loss | Very low ambient heat loss |
| Air Clearance Need | Standard spacing | Dedicated fan intake clearance |
How Should You Configure Sizing and 1/1 GN Pan Combinations?
Crowded buffet layouts create chaos during rush hours. Fixed well sizes trap your kitchen in one rigid menu plan. You need flexible pan arrangements that adapt to daily recipe rotations easily.
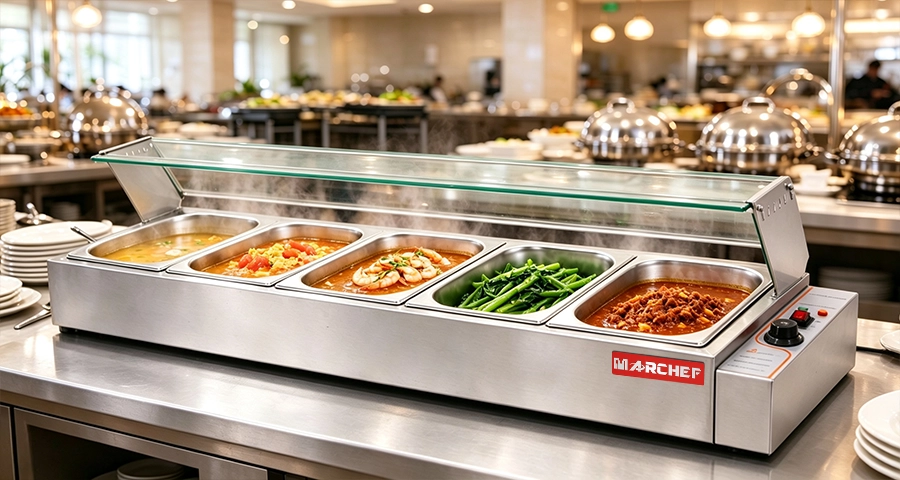
Build your steam table around modular full-size 1/1 Gastronorm wells using stainless adapter bars. This standard layout lets you easily split each well into half, third, or sixth pans to match your serving volume.
Optimizing Your Pan Footprint
I always measure pan capacities based on actual menu turnover. Modular drop-in configurations are engineered around the standard 1/1 Gastronorm (full-size hotel pan) footprint. You can split each cavity using stainless steel adapter divider bars. These bars allow you to assemble fractional arrangements, including halves, thirds, fourths, and sixths. In a fast-casual setup, high-volume items like rice, mashed potatoes, or grilled meats take full 1/1 pans or half-size pans. Specialty sauces, condiments, and steamed toppings fit into third-size or sixth-size pans. Without the moisture buffer of a wet well, radiant dry wells operating in high-turnover QSR lines require careful attention. You must use fitted pans with specialized lids, such as notched or domed covers. These covers prevent surface dehydration and skin formation on dense foods like gravies and starches. Well depth also matters for food quality. Standard dry wells accommodate 100 mm to 150 mm pan depths. Deep pans hold more food, but shallow pans ensure faster and more uniform heat transfer.
| Pan Arrangement | Typical Pan Fraction | Recommended Menu Items | Pan Cover Type |
|---|---|---|---|
| Full Well | 1/1 GN Pan | Bulk proteins, steamed rice, pasta | Solid flat cover |
| Split Half Well | Two 1/2 GN Pans | Side dishes, mixed vegetables | Domed or handled lid |
| Divided Third Well | Three 1/3 GN Pans | Curries, sliced meats, sauces | Notched ladle lid |
| Divided Sixth Well | Six 1/6 GN Pans | Gravy, cheese melts, warm toppings | Hinged notched cover |
Which Temperature Control Option Fits Your Operation Best?
Overcooked food shrinks quickly and tastes terrible. Busy staff members often bump temperature dials and ruin product batches. Inconsistent holding temperatures can easily fail health department food safety checks.
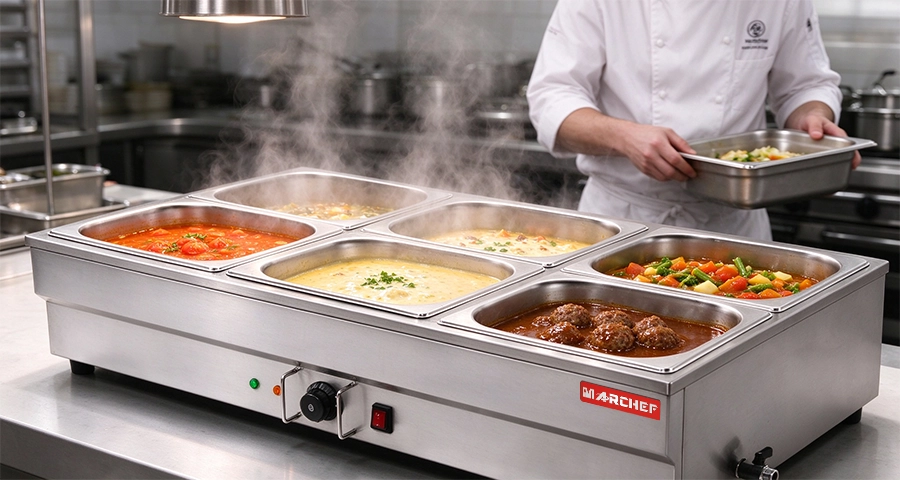
Choose independent analog dials for simple, durable temperature adjustments on a tight budget. Select digital multi-zone displays if you need precise degree-level holding accuracy, lockout security, and simplified food safety compliance tracking.
Control Accuracy and Daily Workflow
I have seen busy buffet lines struggle with inconsistent holding heats. Independent analog dials offer simple, cost-effective adjustment per well. They feature physical rotary knobs connected directly to thermostatic switches. Workers can turn them quickly during a shift. However, dials lack exact temperature readouts. Digital multi-zone displays provide precise degree-level thermostatic control, temperature lockouts, and compliance tracking. A single digital panel shows actual holding temperatures for every single well on the line. Digital models often feature password-protected lockouts. This feature stops unauthorized staff from changing your preset temperatures. Digital displays can also integrate with kitchen data systems to record temperatures continuously for HACCP compliance logs. Analog controls work well in basic kitchens with stable, fixed menus. Digital multi-zone controls are best for high-volume buffets that hold delicate sauces, proteins, and dairy-based dishes that burn easily.
| Control Factor | Independent Analog Dials | Digital Multi-Zone Panels |
|---|---|---|
| Temperature Precision | Rough range (Levels 1 to 10) | Exact degree setpoint (1°C increments) |
| Operator Interface | Physical rotary knobs | Digital LED/LCD push-button display |
| Security Lockout | None | Password or key combination lock |
| HACCP Data Logging | Manual thermometer logging | Digital readout and system logging |
| Repair Simplicity | Basic mechanical parts | Electronic circuit board |
What Should You Check Before Replacing Existing Wet Wells?
Old water-filled wells leak, corrode cabinets, and waste hours on cleaning. Rushing into a replacement without planning can create expensive counter and electrical mistakes. You must prepare your physical infrastructure first.
Before replacing wet wells, remove water lines and verify breaker amperage for 208/240V circuits. Check your counter cutout dimensions, flange clearance, and under-counter space to ensure a seamless drop-in fit.
Structural and Utility Requirements
I always tell kitchen teams that converting to dry wells pays off quickly if you plan ahead. Transitioning from wet to dry wells eliminates daily water hauling, routine chemical deliming, drain line clogging, and burn risks associated with live steam and scalding water. Waterless hot well retrofits can yield significant upfront plumbing savings by eliminating dedicated water-inlet piping and drain-line connections. Removing sub-counter water lines and drains during a dry-well conversion frees up vertical undercounter clearances. This change allows operators to repurpose lower cabinetry for plate dollies, refrigeration, or staging warmers. However, you must inspect your utilities closely. Existing wet-well countertop cutouts frequently differ from contemporary dry-well flange tolerances. You need to verify corner radii, sub-counter depth clearances, and breaker box amperage to support potential voltage shifts from standard 120V circuits to 208/240V multi-zone dry systems. Confirm that your supply cables can carry the higher electrical load without tripping main breakers.
| Pre-Retrofit Step | Action Item | Why It Matters |
|---|---|---|
| Cutout Measurement | Check length, width, and corner radius | Dry-well flanges must sit flush on counter |
| Electrical Audit | Verify voltage (120V vs. 208/240V) | Dry multi-wells often need higher voltage lines |
| Plumbing Removal | Cap off water inlet and main drain | Stops leaks and creates clean under-counter space |
| Space Reclaim | Measure under-counter vertical height | Lets you install warmers or mobile dollies below |
| Ventilation Space | Check air intake gaps under the chassis | Keeps internal fans and heating coils from overheating |
Conclusion
Choose a dry-well steam table that matches your menu, cookware, and counter cutouts to eliminate daily plumbing maintenance, lower utility costs, and maintain food quality.